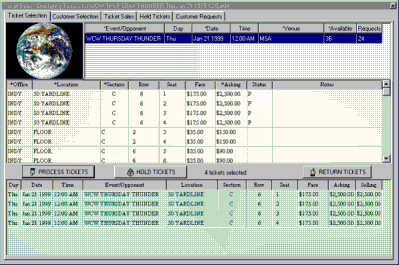
In addition to support for normal ticket orders, Broker 2000 allows orders known as customer requests. These requests are basically orders for tickets which your company does not have in its inventory. For example, assume that a customer calls requesting 4 tickets for the Thursday Night Thunder on the 50 yard line, but you do not yet have any seats in stock for that area. Broker 2000 provides you with the ability to enter the customer information into the system and attach the ticket request to a firm order for future inventory. When the tickets are actually placed into the company inventory, the request order can be recalled and filled from this new inventory. In this way, you can get a firm commitment and money prior to actually hunting down the desired seats. This type of order works as follows.
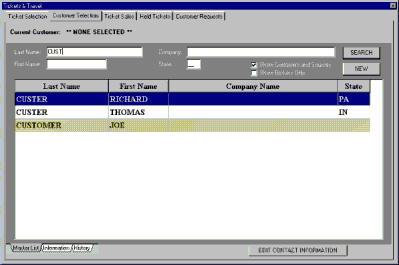
The first step in taking a customer request order is to place the customer name and address information into Broker 2000. This is done via the Customer Selection tab in the order entry panel. For this example, we will use the name Joe Customer. We will first check whether or not we have data for this customer by entering in a partial last name of Cust into our search criteria.

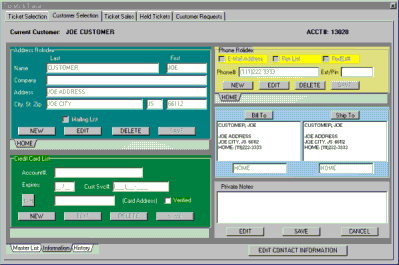
This search shows us that we have a Joe Customer on file, so we will now select that entry by double clicking on it to verify that the address information is for this Joe Customer.
We will now check our inventory for this event to see if we have any tickets in stock by going to the ticket selection panel of our order entry program and pulling up the inventory for this event.
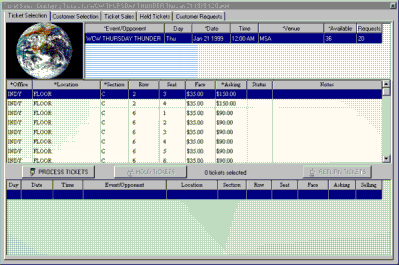
After scanning the inventory records, we find that there are no seats in inventory which we can use to fill this order. Since the customer is willing to place a firm order with us for these seats, we will now go to the Customer Requests tab and fill in the information for the desired tickets. Since we already had the event pulled up in our inventory screen, the Customer Requests program defaults the requested event to the event we looked up in inventory.
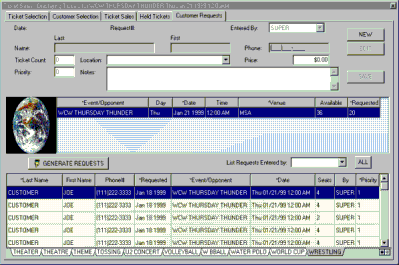
By pressing the NEW button, we will bring forward the customer information for the customer we selected from the rolodex. We simply fill in the ticket information and select the proper event if it is not the event being displayed before we press the GENERATE REQUESTS button.
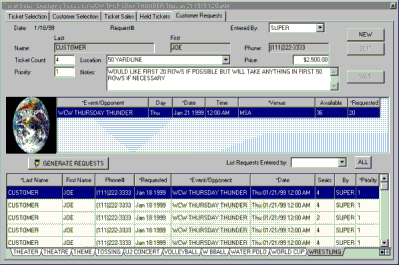
After verifying that the entered information is correct, we press the GENERATE REQUESTS button to begin the actual order generation process.
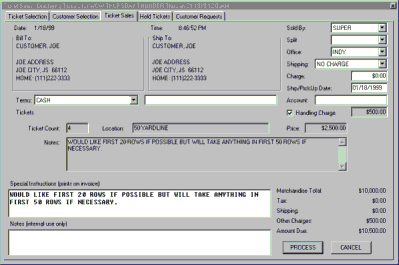
In order to complete the order, we now specify payment method, shipping method and any charges that apply, and whether or not a handling charge applies to this order. We may also enter notes which will be printed on the order as well as internal notes. By pressing the PROCESS button, the actual order is generated.
Now that we have a firm order, it is time to find the tickets to fill it. Once this is done and the tickets are entered into inventory, we may recall the request from within the Customer Requests tab by selecting the proper event. A list of all outstanding requests is displayed for the event. We simply select the event to be filled by clicking on it, and then select FILL REQUESTS from the right click popup menu.
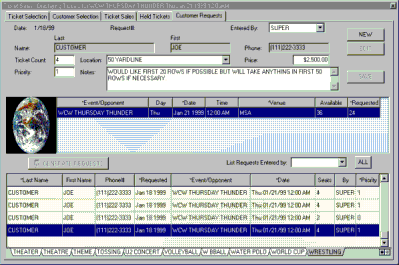
By selecting the FILL REQUESTS option, we are placed in the Ticket Selection panel with our current inventory of tickets for this event displayed. We now select the proper set of tickets to fill this order and go through normal order processing to complete the transaction.
